SOFOS 360
Manually adding a substance to your own database
Introduction SOFOS 360 > Basic exercises > Module Substances > Manually adding a substance to your own database

In this module you will learn how to add a substance manually. You can also add a number of additional data to a substance from a third party database. However, these additions are not enclosed if the database is updated.

For the purpose of manually generating a safety data sheet or a workplace instruction card, we recommend that you enter as much information as possible.

This is the start screen of the module. Now you can manually start entering a new substance.

  • Proceed to the module 'Substances' and then to the 'Substance' tab.
  • Click on New, select the language and then manually enter the name of the material you want to enter.
  • Enter all data you wished for the substance and indicate whether you want to share this material, for example via the information portal by checking this box.
  • In the Substance tab, only the name is required. You can always add the other information later.
  • If you have not been active in the application for more than a few minutes, you will be automatically logged out of SOFOS 360. To prevent you from accidentally losing your work, for example because you have something else to do while entering the material, you can always save your work in the meantime.
  • The Save button: only the input is saved, you remain on the same tab.
  • The option Save and Close: save the input and return to the screen from which you have added a new substance.
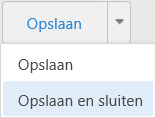
    You will be automatically log out of SOFOS 360 if you have not been active in the application for more than a few minutes. To prevent you from accidentally 'losing' your work because you have to do something else while entering the material, you can always save your work in the meantime.
  • The Save button: only the entry is saved, you remain on the same tab.
  • The option Save and Close: save the input and return to the screen from which you have added a new substance.

If you have not been active in the application for more than ten minutes, you will be automatically logged out of SOFOS360. In the meantime, you can always save your work to prevent accidental loss of your work, for example because you have something else to do while entering the substance.

  • The Save button: only the input is saved, you remain on the same tab.
  • The option Save and Close: save the input and return to the screen from which you have added a new substance.

You can change the properties of the substance by clicking on the Edit-icon in front of the substance name in the overview.

  • Then proceed with the tab Names. You can enter different names here. To do this, click on the arrow next to New (). The following selection list appears:

    If you have not made a selection, the last used type is automatically selected.
  • Choose the typename you prefer from the list, then the language code. Enter the name in the Substance Name box. Confirm with OK. You can see that the new name has been added..

All lines that you have added can be changed with the Edit-icon and deleted by selecting the line. If the Delete-icon above the grid turns red, click on it.

SOFOS360 offers the possibility to automatically make a proposal for H-sentencesP-phrases and GHS pictograms. The Arbo pictograms must be linked manually by the user.

  • Proceed to the Classification tab and click on the Edit-icon at the top of the screen.
  • Click on the link at "Hazard classes" and select the hazard classes you want. Then click OK. The GHS icons are added automatically.
  • And now follows the automatic completion of the H-sentences / P-sentences.
  • The Arbo-icons differ per company or organization. You can add your own icons manually by clicking the link button and adding the icon(-s) you prefer. You can add one icon at the time. Selecting an icon makes the Disconnect button active; this allows you to delete the selected icon.
  • Then click save. Now you can return to the main screen.

  • SOFOS360 offers the possibility to automatically make a proposal for H-sentencesP-sentences and GHS icons. The must be manually linked by the user.
    • Go to the to the 'Classification' tab and click on the' Edit'-icon at the top of the screen.
    • Click on the link at "Hazard classes" and select the hazard classes you prefer. Then click 'OK'. This is followed by the automatic completion of the H-sentences /P-sentences and the GHS pictograms.
    • Then click save and the blue arrow.

    All lines that you have added yourself can be changed with the Edit-icon and delete by selecting the line. If the Delete-icon above the grid turns red, click on it.

In this tab you add properties. Because the number of properties is major, this sub-screen is subdivided into four tabs.

  • Aspects
    In this tab you can link the properties of the substance such as the nature, state of aggregation, solubility, color, flavor and you can add an emergency number. Where 'Link' is stated, you can click this word and choose from a list of fixed values. Where 'New' is stated, you can click this word and enter the data you prefer.
  • \ Physical properties
    In this tab you can add the physical properties such as pH value, consistence and flammability and you can enter the vapor pressure and viscosity. If you want to export a substance to the substance manager, you must also state the emission for solid substances. This is possible in this tab.
  • Free text
    In this tab you can enter your own (company) specific text. For example, additional instructions for storage or transport, describing which logo should be used on which substance-specific document, and so on.
  • Control parameters
    You can enter control parameters in this tab. For example, exposure time, route of exposure (for example, inhalation, contact), whether a test animal was used to determine a parameter and, if so, which and which methodology was used and so on. You can use this to determine whether .... and if so, who and how long you may be exposed to this substance and under what circumstances.
    • There are different control parameters available: Acute Toxicity, Ecotoxicity and Personal protection. For a complete overview: see the master tables.
    • Each type has its own screen and support.
    • In addition to your own research, you can also mention other sources if available.
    • Different parameter types are available. Depending on the choice you make, you can enter additional information such as unit, exposure value and exposure time.

All lines that you have added yourself can be changed with the Edit-icon and delete by selecting the line. If theDelete-icon above the grid turns red, click on it.

Please enter the instructions for transporting the substance here. There are six parts:

  • UN-codes (mandatory codes concerning the transport of dangerous goods);
  • Road transport (ADR class and subclass, packing group, hazard map and tunnel restrictions);
  • Traintransport (RID class en RID packaging code);
  • Inlandshipping(ADN class en ADN packaging code;
  • Air freight (ICAO class, ICAO packaging code, ICAO subrisk, ICAO 1st instruction, ICAI 2nd instruction);
  • Sea freight (IMDG class, IMDG packaging code, IMDG page, IMDG MFAG number, IMDG, IMDG EMS number).

You can also - if present - link and disconnect packaging and / or tank labels and enter additional transport texts.

If you are not sure which instructions apply to the substance you have just entered, please contact your own specialist for more information.

You can add, edit or delete texts here.


To add a new text, click on 'New'.

An additional window opens:

 You can expand the text at Chapter by clicking on the black arrow().Then you make a choice. If your choice is not listed, the text can remain on N/B.

If you have made your choice for the chapter, you will see a number of texts appearing if present. You can make a choice from this by clicking on the white square in front of the text. You confirm your choice with Add at the top right.

All lines that you have added yourself can be changed with the Edit-icon and delete by selecting the line. If the Delete-icon above the grid turns red, click on it.

In this tab you will find a summary of related Articles, Departments, Employees and Rooms. You can add a new link for each part by clicking on New.

Articles

  • Click on New. A new window will open.
  • Fill in the requested information as completely as possible (do not forget to specify whether the packing unit for a standard order is a bulk item or not).
  • If necessary enter the requested information on the 'Extra info', 'Stock' and 'Documents' tabs.
  • Confirm with 'OK'.

The procedure is the same for the components below. Only the input is different, depending on the component.

Departments

  • Click on 'New'. A new window will open.
  • Please enter the requested information. The "from date" and "from date to date" are not required.
  • The 'Is active' option is checked by default. If this is not (yet) the case, you can uncheck it.
  • Confirm with 'OK'.

Employees

  • Click on 'New'. A new window will open.
  • Please enter the requested information. The "from date" and "from date to date" are not required.
  • The 'Is active' option is checked by default. If this is not (yet) the case, you can uncheck it.
  • Confirm with OK.

Rooms

All lines that you have added yourself can be changed with the Edit-icon and delete by selecting the line. If the Delete-icon above the grid turns red, click on it.

This tab consists of two grids: Mixture components and Component thereof.

Mixture components

Please enter here which components the mixture consists of. To do this, click on the New button. An additional window will open. Enter the requested information and confirm with OK.

The added mixture component will now be visible in the grid.

All lines that you have added yourself can be changed with the Wijzig-icon and delete by selecting the line. If the Delete-icon above the grid turns red, click on it.

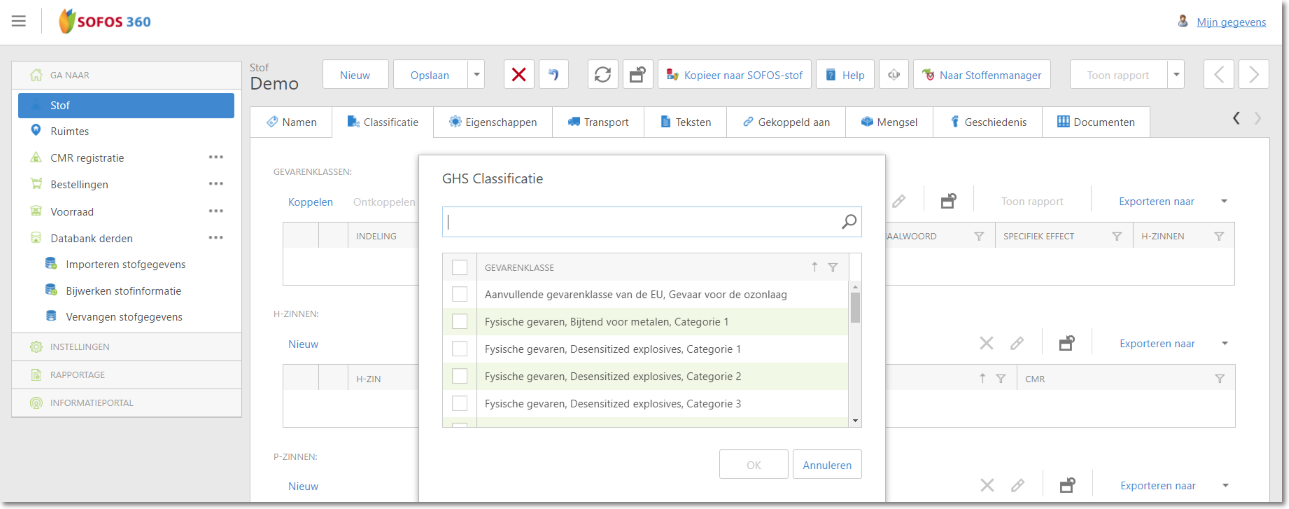
For a detailed explanation, go to the CLP module .
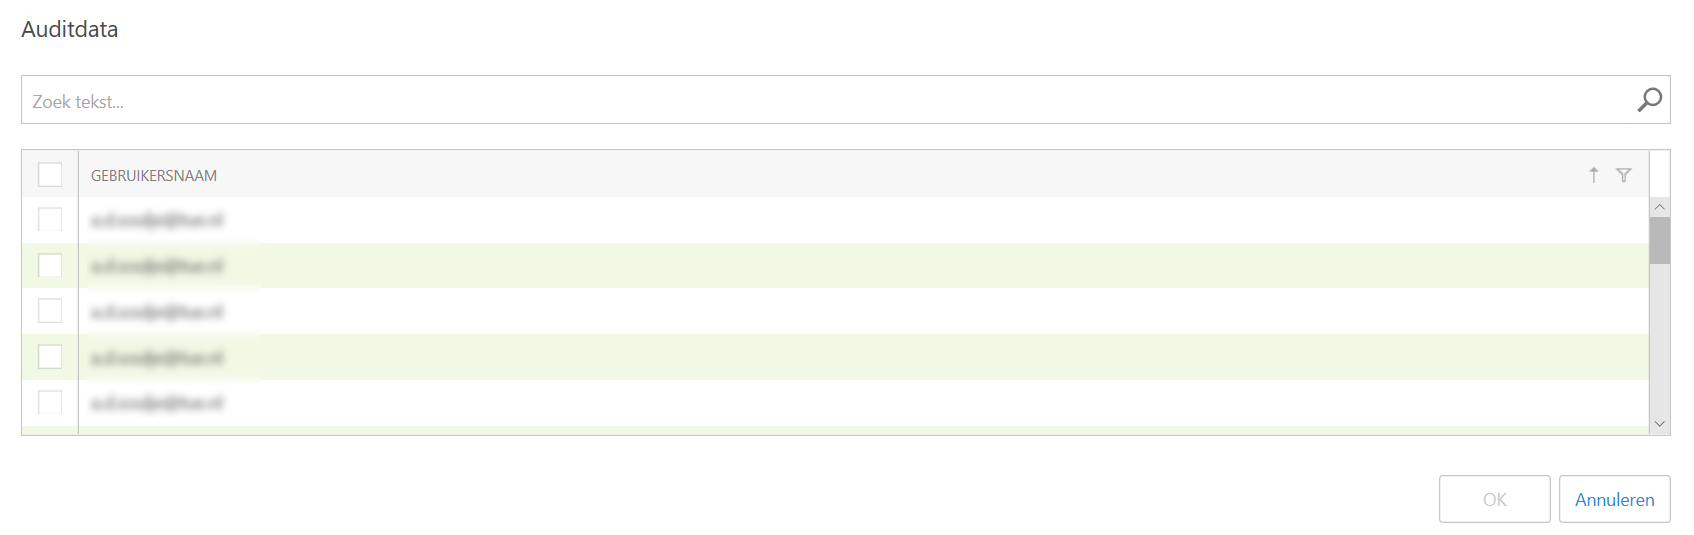
This is a log file (audit Trail) listing everything that has happened to this substance. This log cannot be deleted. However, you can add an additional processor or select the log to export the selected lines.

Connect Log

With this functionality you can add an additional processor to the substance.
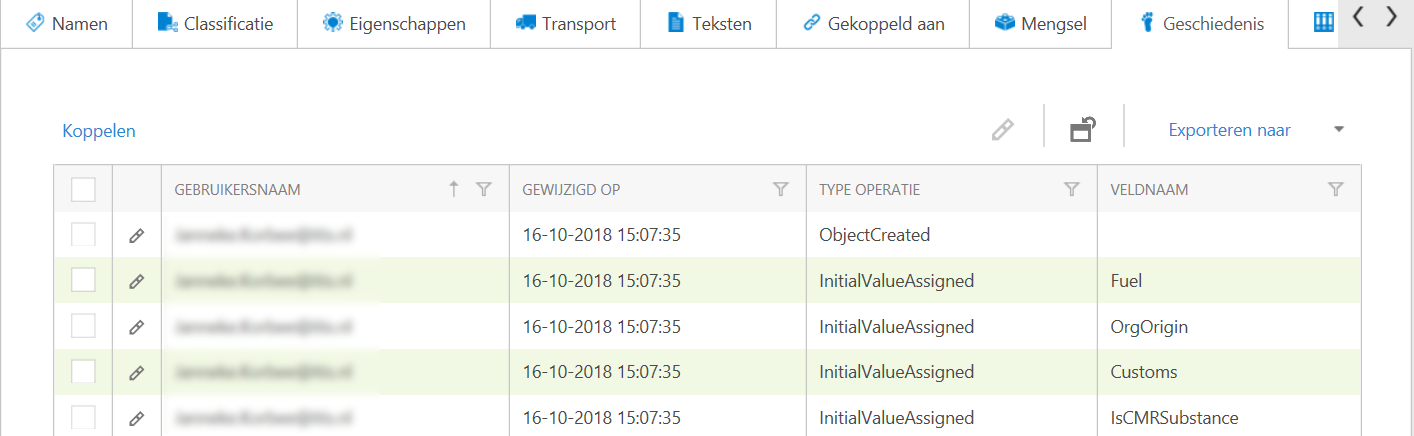
  • Click on Link at the top right. A new window opens. Depending on the size of the database Users, this may take a while. Wait for the database to load.
  • If you know (part of) the name, you can also type the name in the Audit data field and start the search with the magnifying glass. You will then only receive the results for the specified name.
  • If you click on the prefered name, the selected person is automatically linked to this entry. You cannot undo the link.

Export Log

You can export a log to a number of file formats.

Click on the black arrow () and make a choice from one of the formats below.

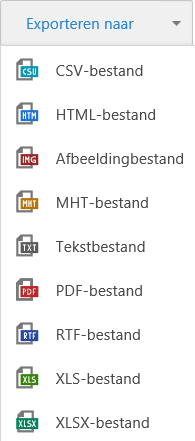
Make your choice by clicking on a format. Open the newly created file or save it.

Now you can further process the log file. When processing and distributing the data you must take into account the laws and regulations (GDPR)

You can add a document to a substance, room, etc.


Click on New at the top left, the summary.


A new window opens.


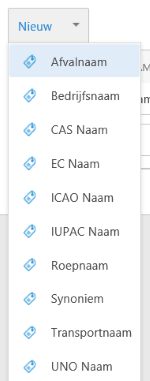
Click the arrow ( ) next to 'New' to choose a document type.


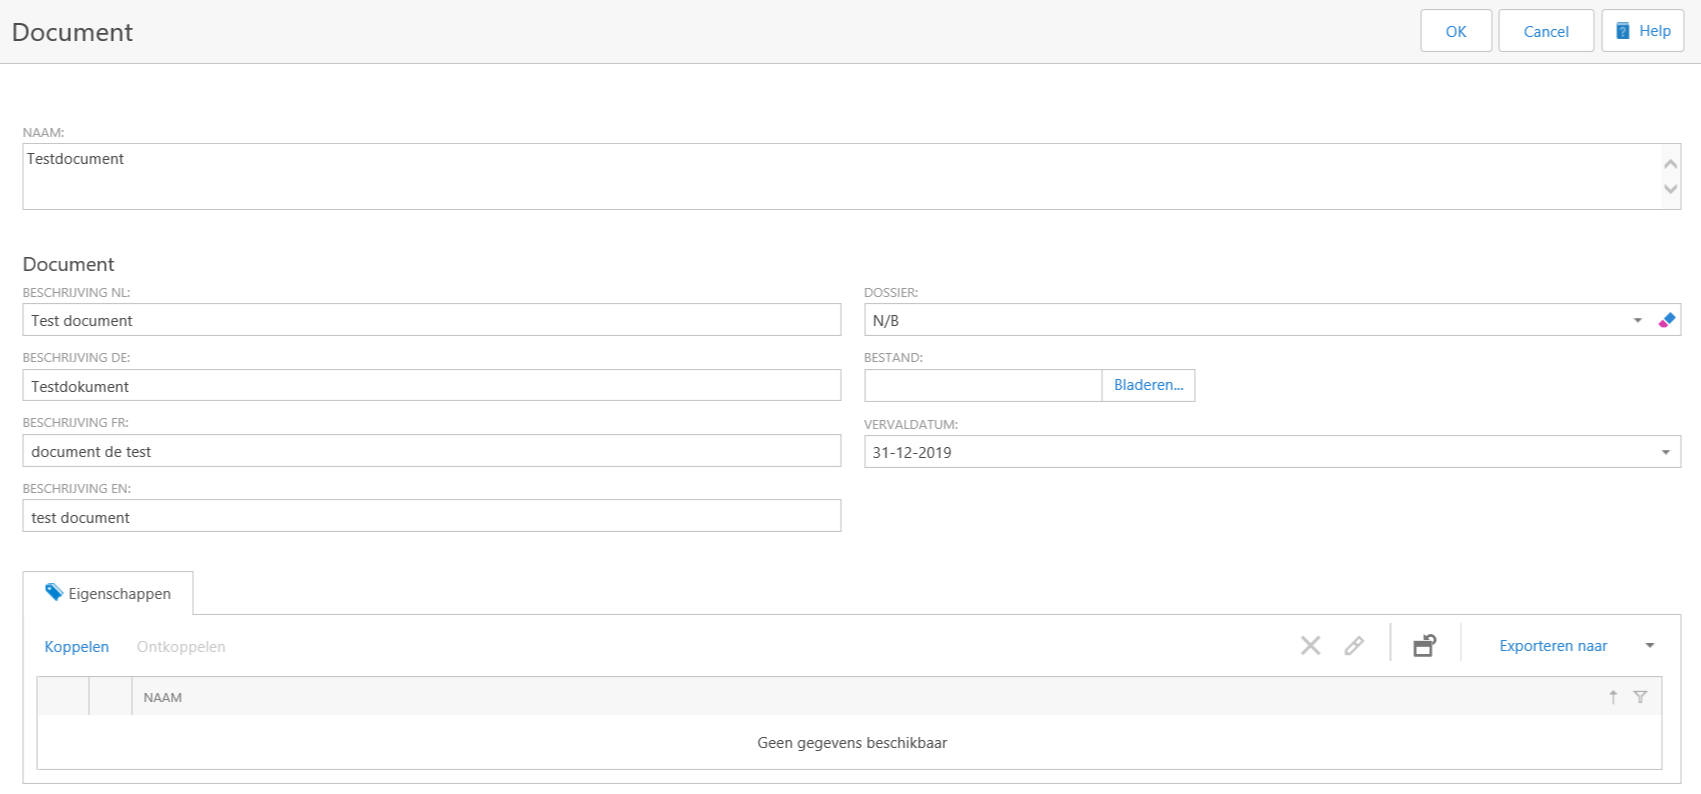
Enter the descriptive information for the document here. If you also want to add the document to a file created by your organization, click on the arrow on the right ( ) to choose a file. Otherwise you can leave this field blank. You only need to enter the expiration date of the document if this applies; otherwise you can leave this field blank.


The drop-down window for the 'File' option.

 
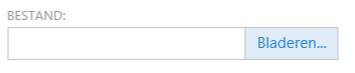
When you have entered everything, click the Browse button next to the File field.


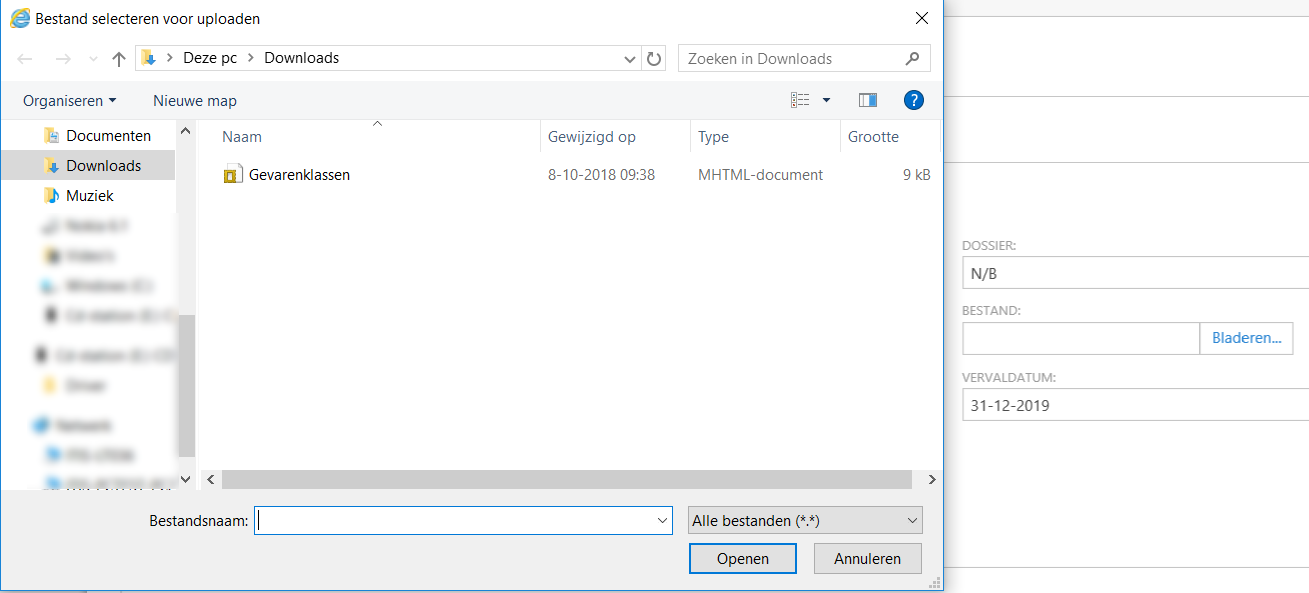
A new window will open where you can look up your file. Select the file by selecting it and then clicking Open.


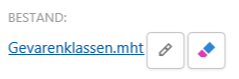
As you can see, your file has been added. You can add more files by clicking on the Edit-icon or delete the file by clicking on the Delete-icon.


When you have selected all documents, please click on Link in the 'Properties' field.


A new window will open where you can select the added files. Check this and confirm with 'OK'.

 
If you see this on the screen, the document is linked to the substance (in this exercise).

All lines that you have added yourself can be changed with the Wijzig-icon and delete by selecting the line. If the Delete-icon above the grid turns red, click on it.

See Also

Substances